
How to create a booking link and brand your Booking Page
A BrightLocal study revealed that 98% of people search online for local businesses, making your Booking Page a crucial point of discovery. By ensuring it’s up-to-date, SEO-friendly and showcases your brand’s personality, you can stand out from competitors and convert more leads.
Here are 7 easy tips to build a custom booking system, which helps to capitalize on regular search traffic.
Need a Booking Page? Create your free Setmore account here
Your brand in lights
A branded booking system connects your audience’s online and offline experiences. Personalize your Booking Page’s appearance to align with your premises, signage, social media and more. It turns into a digital extension of your front desk.
1. Customize your booking link
In your web app, go to Settings > Booking Page and you’ll see your Booking Page URL at the top of the screen. You can edit this URL to include your company’s name, or your main service and location. Make it relevant and easy for customers to remember.
To bring in local customers from Google, consider enhancing your URL with relevant keywords.
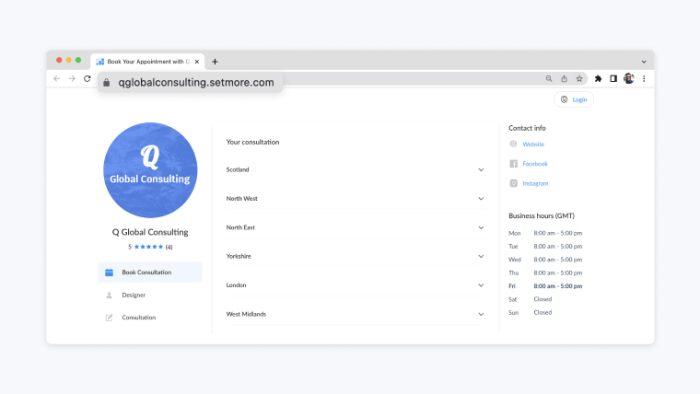
Step-by-step instructions: How to make a booking link and take appointments 24/7
2. Add a logo and banner image
Highlight your business’ visual identity at the top of your Booking Page. Your logo looks best when uploaded as a square image. For your banner, think about featuring your premises, a service in action or award wins. You can also include links to your website and social media pages.
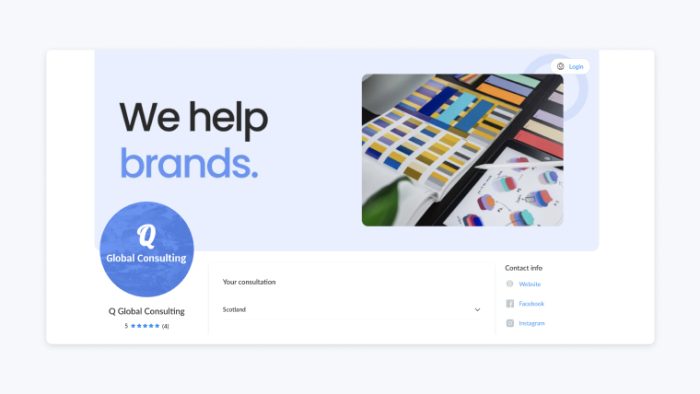
Step-by-step instructions: Get image specifications for your logo and banner
3. Stream your Instagram posts
Feed new Instagram posts to your Booking Page’s Photos tab. After connecting your accounts, simply specify a hashtag in Setmore. When an Instagram post includes this hashtag, your scheduling app automatically pulls it into the Photos tab. Your Booking Page content stays current and promotes your story to leads and customers.
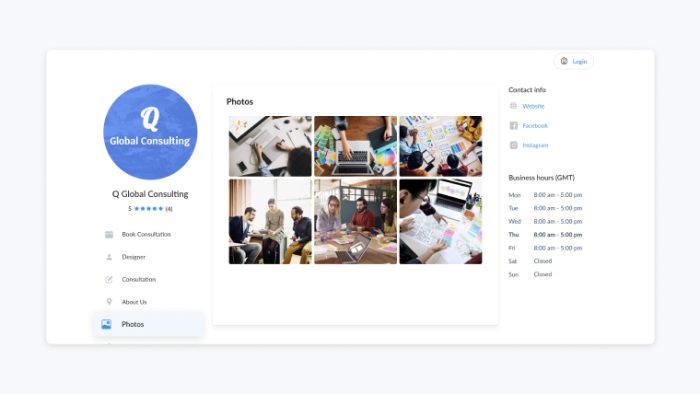
Step-by-step instructions: How to display Instagram posts on your custom booking site
4. Create team profiles
Each team member’s profile tells the world about their expertise. Use the description field to outline their skills and qualifications, making it simple for customers to book with the right specialist. You can even upload profile photos to show the people behind your brand.
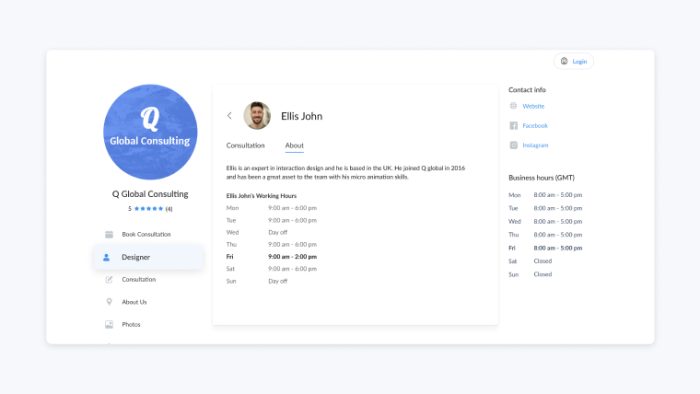
Step-by-step instructions: How to make a website for booking appointments – with your whole team
5. Showcase your services
Add service descriptions and photos to your branded Booking Page. A hair salon, for example, can explain what a balayage entails, alongside a photo example. This helps a potential client to differentiate between similar services, like balayage and ombre hair.
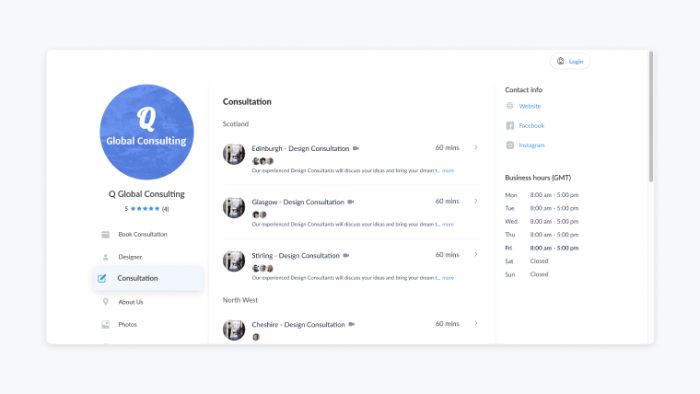
Step-by-step instructions: How to make a Booking Page that details all of your services
6. Highlight your reviews
Automate review requests after each appointment and house feedback in your Booking Page’s Reviews tab. When new leads arrive, they can flip through positive feedback from the people who champion your brand.
With 93% of consumers reading reviews before purchasing (Dixa), it pays to make feedback quick to find.
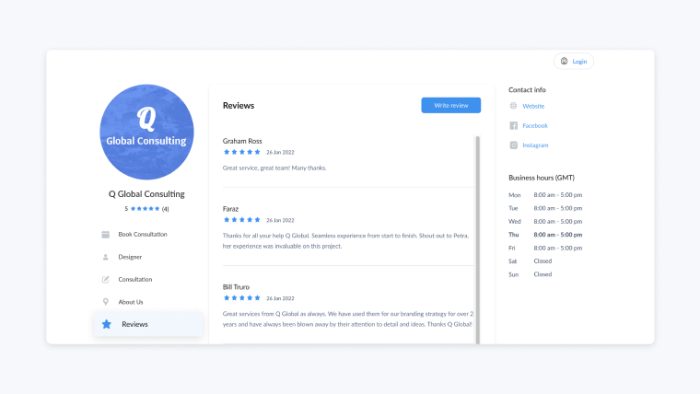
Step-by-step instructions: How to create a Booking Page that features reviews from customers
7. Share important links
Social media is essential to establishing your brand. Ensure people can browse your content when comparing similar services online. Your Booking Page’s business details section has fields for your most-valuable links, helping to give every visitor a well-rounded impression of what you’re about.
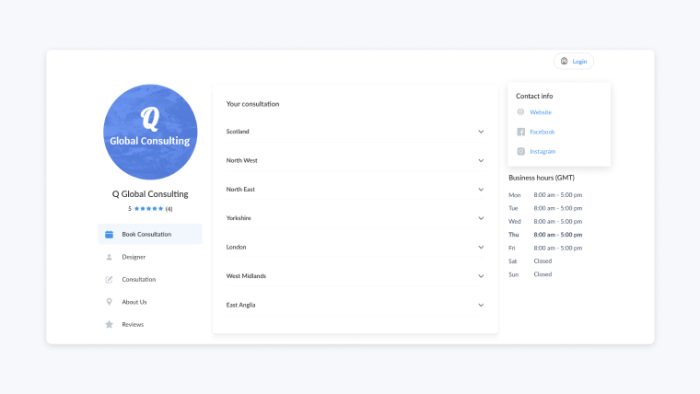
Step-by-step instructions: How to create a booking website that links to related content
Build and share your custom booking system
Keep checking back for ways to tailor your Booking Page, including displaying custom pop-ups and intake forms. If you’re on a Pro or Team plan, you can also remove Setmore’s branding altogether.
Need to create your account? Sign up for free. You can also get a personalized demo to learn more. Happy scheduling!

by admin


